Adding a border
Often it is desirable to draw a border around the page or around a smaller group of stamps to emphasize a common characteristic of the stamps, like a specific watermark.
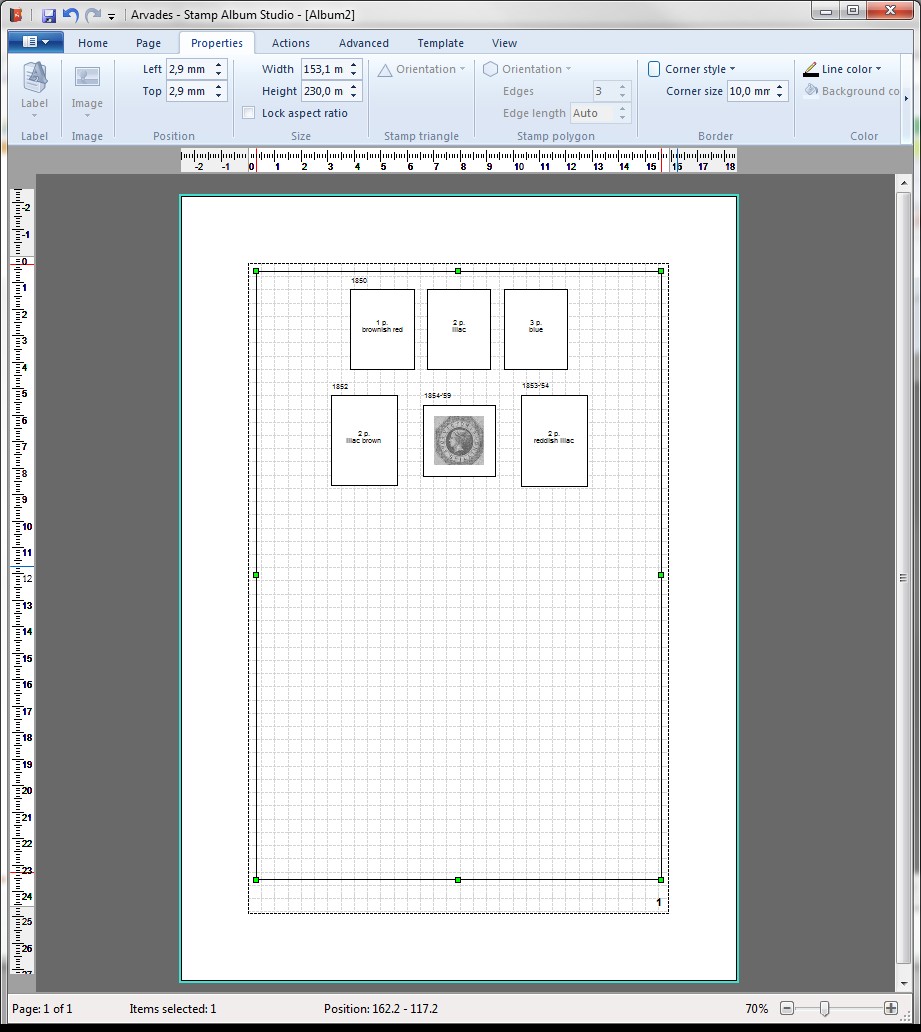
You can draw borders with Stamp Album Studio as follows. Suppose we want to draw a border around our entire example page except for the page number.
We click on the button Border  on the Ribbon Tab page "Home". We then move the mouse across the page. The mouse pointer changes into a cross
  . With the aid of the marks on the ruler and the mouse position on the statusbar we position the mouse on (approximately) 3mm, 3mm. Then we click on the left mouse button and keep it down. We then drag the mouse to position 156mm, 233mm and release the mouse button. The border has now been drawn:
If the border is not completely as you wished it to be, you can adjust the size by dragging the green rectangles ('sizing handles') of the border with the mouse.
Another option is to go to the Ribbon Tab page "Properties" and change the position and size there:

With these controls you can change the position, size, style, color and width of the line and the style and size of the corners. In the online Help this will be explained in more detail.
Note:
On the Ribbon Tab page "Advanced" there is an option that indicates if the border (or any other object) must be printed on paper. This option is called "Printable". Clear this check mark if you use paper with a pre-printed border:

Finally you can center the border on the page with the menu options Center Horizontal and Center Vertical on the Ribbon Tab page "Page". In the online Help the alignment of objects is described in detail.
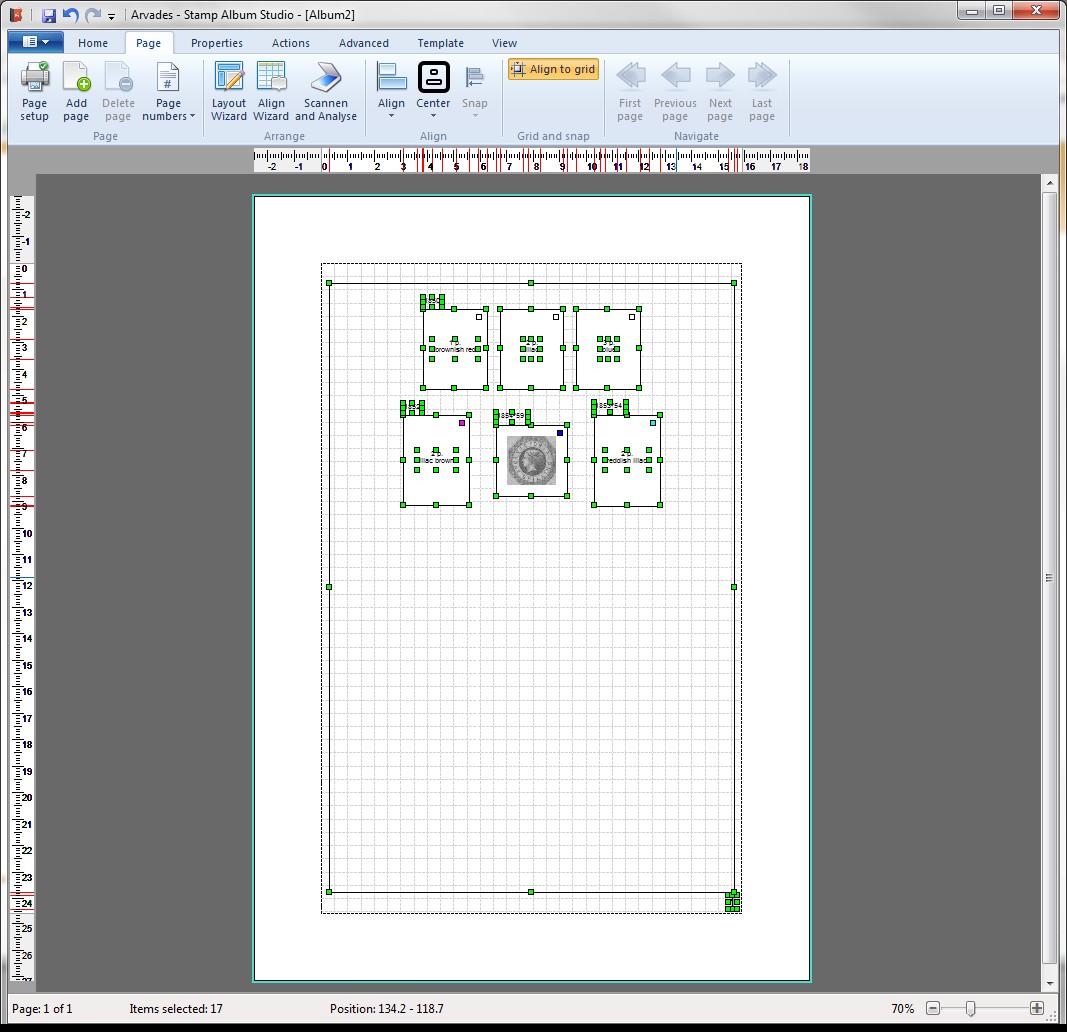
Realigning stamps
By drawing a border around the page you will notice that the distance between the border and the stamps has become too short. To correct this we can make use of the Align Wizard once again. Select all stamps. This can be done by drawing a rectangle around all stamps or by choosing the option Select all on the Ribbon Tab page "Home". Then click on the Align Wizard on the Ribbon Tab page "Align" and press OK. The stamps will get realigned:
Note:
From the example above you can see that the Align Wizard takes any borders around the selected stamps into account! When a border is drawn around the stamps the new positions of the stamps will depend on this border. When no border is drawn around the stamps, then the new positions of the stamps depend on the margins of the page. In the online Help all options and possibilities of the Align Wizard are described in detail.
Copyright © 2015, Arvades